Simple Guide: Setting Up Every Proxy on Android (HTTP or SOCKS5)
This guide shows how to quickly turn your Android phone into a proxy server using the Every Proxy app. You can use either an HTTP proxy or a SOCKS5 proxy and connect other devices or tools through your mobile connection.
Step 1: Install Every Proxy
- Open the Google Play Store.
- Search for Every Proxy.
- Install the app and open it.
Step 2: Choose Proxy Type
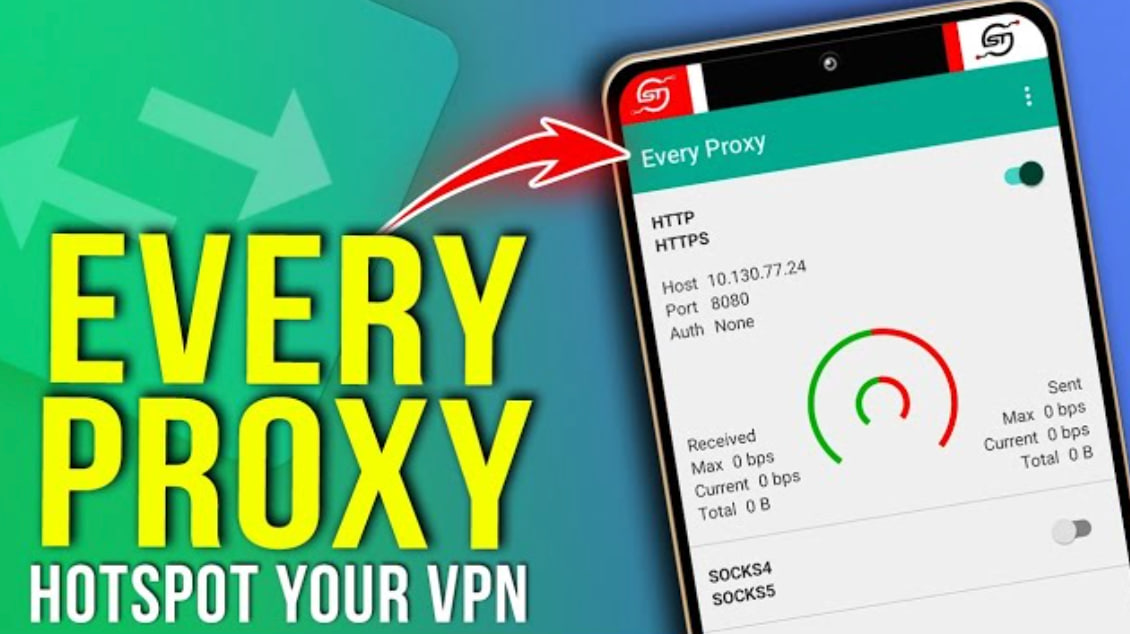
On the main screen you will see different proxy options. Enable one of these:
- HTTP Proxy – best for browsers and simple tools.
- SOCKS5 Proxy – works with more applications and supports more traffic types.
Step 3: Configure the Proxy
- Tap the edit icon next to the proxy type.
- Set the Bind Address to 0.0.0.0 so other devices can connect.
- Choose a Port (for example: 8080, 1080, or any port above 1024).
- Optional: enable Username / Password if you want authentication.
- Save the settings.
Step 4: Start the Proxy
- Turn on the toggle switch for the proxy.
- The app will show the IP address and port of your proxy.
Your proxy will look something like this:
IP: 192.168.1.50
Port: 8080
Step 5: Connect From Another Device
On your computer or tool, enter the proxy details:
- Host / IP: your phone's local IP
- Port: the port you selected
- Protocol: HTTP or SOCKS5
- Username / Password: if enabled
Tips
- Make sure your phone and the connecting device are on the same Wi-Fi network.
- If using mobile data, enable hotspot and connect devices through it.
- Keep the Every Proxy app open while using the proxy.